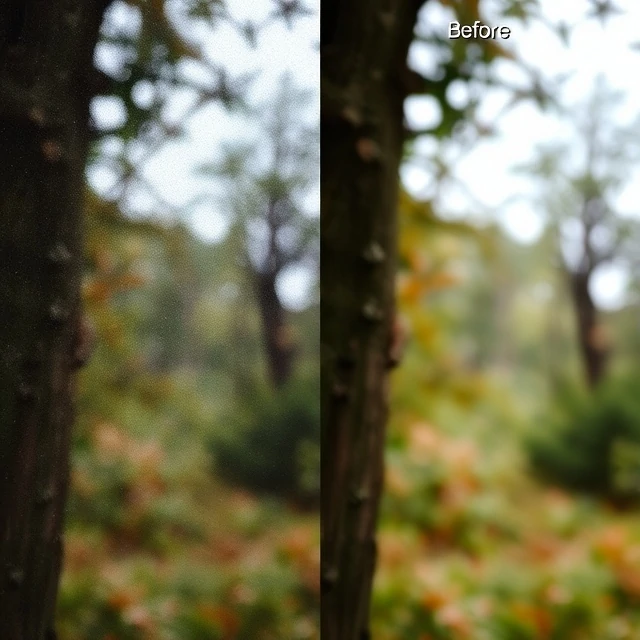
Noise is the digital equivalent of film grain. It appears as speckles or random variations in color and brightness, especially in images shot at high ISO or in low light. Noise reduction is the process of removing or reducing that noise. It can be done in camera, where the camera applies noise reduction automatically, or in post-processing, where the photographer has more control. In-camera noise reduction is convenient but often aggressive, smoothing away detail along with noise. Post-processing noise reduction is more nuanced, allowing the photographer to preserve detail while reducing noise.
There are two main types of noise: luminance noise, which is variations in brightness, and chroma noise, which is variations in color. Luminance noise looks like grain and is often acceptable. Chroma noise looks like colored speckles and is usually undesirable. Noise reduction software uses algorithms to distinguish noise from detail. Some algorithms are simple, blurring the image slightly. Others are more sophisticated, using machine learning to preserve edges and textures. Noise reduction is always a trade-off. Too little and the image looks noisy. Too much and it looks plastic and artificial.
Noise reduction tips
- Shoot at low ISO. The best noise reduction is avoiding noise in the first place.
- Expose to the right. Brighter exposures have less noise.
- Use a tripod. Allows slower shutter speeds and lower ISO.
- Apply selectively. Reduce noise in shadows, preserve detail in highlights.
- Use masking. Apply noise reduction only where it is needed.
Noise reduction is not a cure for a bad exposure. It is a tool for improving a good one.
Comments
No comments yet. Be the first to share a thought.
Leave a comment