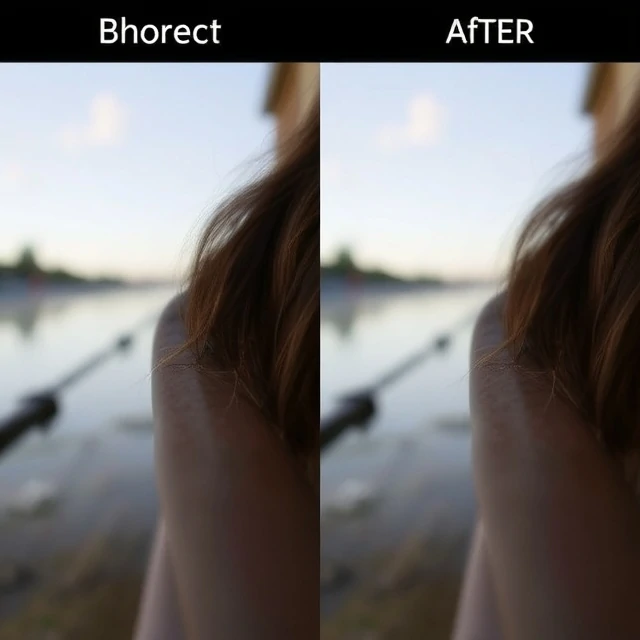
Sharpening is enhancing edge contrast to make an image appear sharper. It does not add detail. It makes existing detail more visible by increasing the contrast between light and dark pixels along edges. Sharpening is applied in post-processing, either in camera or in software. Almost every digital image is sharpened, because the process of capturing and processing an image softens it. The sensor's anti-aliasing filter, the lens's optical imperfections, and the interpolation of pixels all reduce sharpness. Sharpening compensates for that loss.
Sharpening has limits. Too little and the image looks soft. Too much and it looks unnatural, with visible halos around edges and exaggerated noise. The goal is to sharpen enough to make the image look crisp without making it look over-processed. There are different sharpening techniques. Unsharp mask is the classic method, using a blurred version of the image to create a mask. High-pass sharpening is another. Some software uses AI-based sharpening, which can recover detail that was lost. Sharpening should be the last step in editing, after noise reduction and color correction. It should be applied selectively, not globally.
Sharpening tips
- Apply last. Sharpen after noise reduction and color correction.
- Use masking. Sharpen edges, not smooth areas.
- Zoom in. Check the effect at 100 percent.
- Be subtle. A little sharpening goes a long way.
- Output sharpen. Sharpen differently for screen and print.
Sharpening is not the same as focus. A blurred image cannot be sharpened into a sharp one. Sharpening enhances what is already there.
Comments
No comments yet. Be the first to share a thought.
Leave a comment